Snail Motion’s “Adobe Premiere Pro Tutorial” area introduces video editing. Our blog has extensive Adobe Premiere Pro posts. Discover excellent video editing tips for beginners and pros. Master Premiere Pro with us!
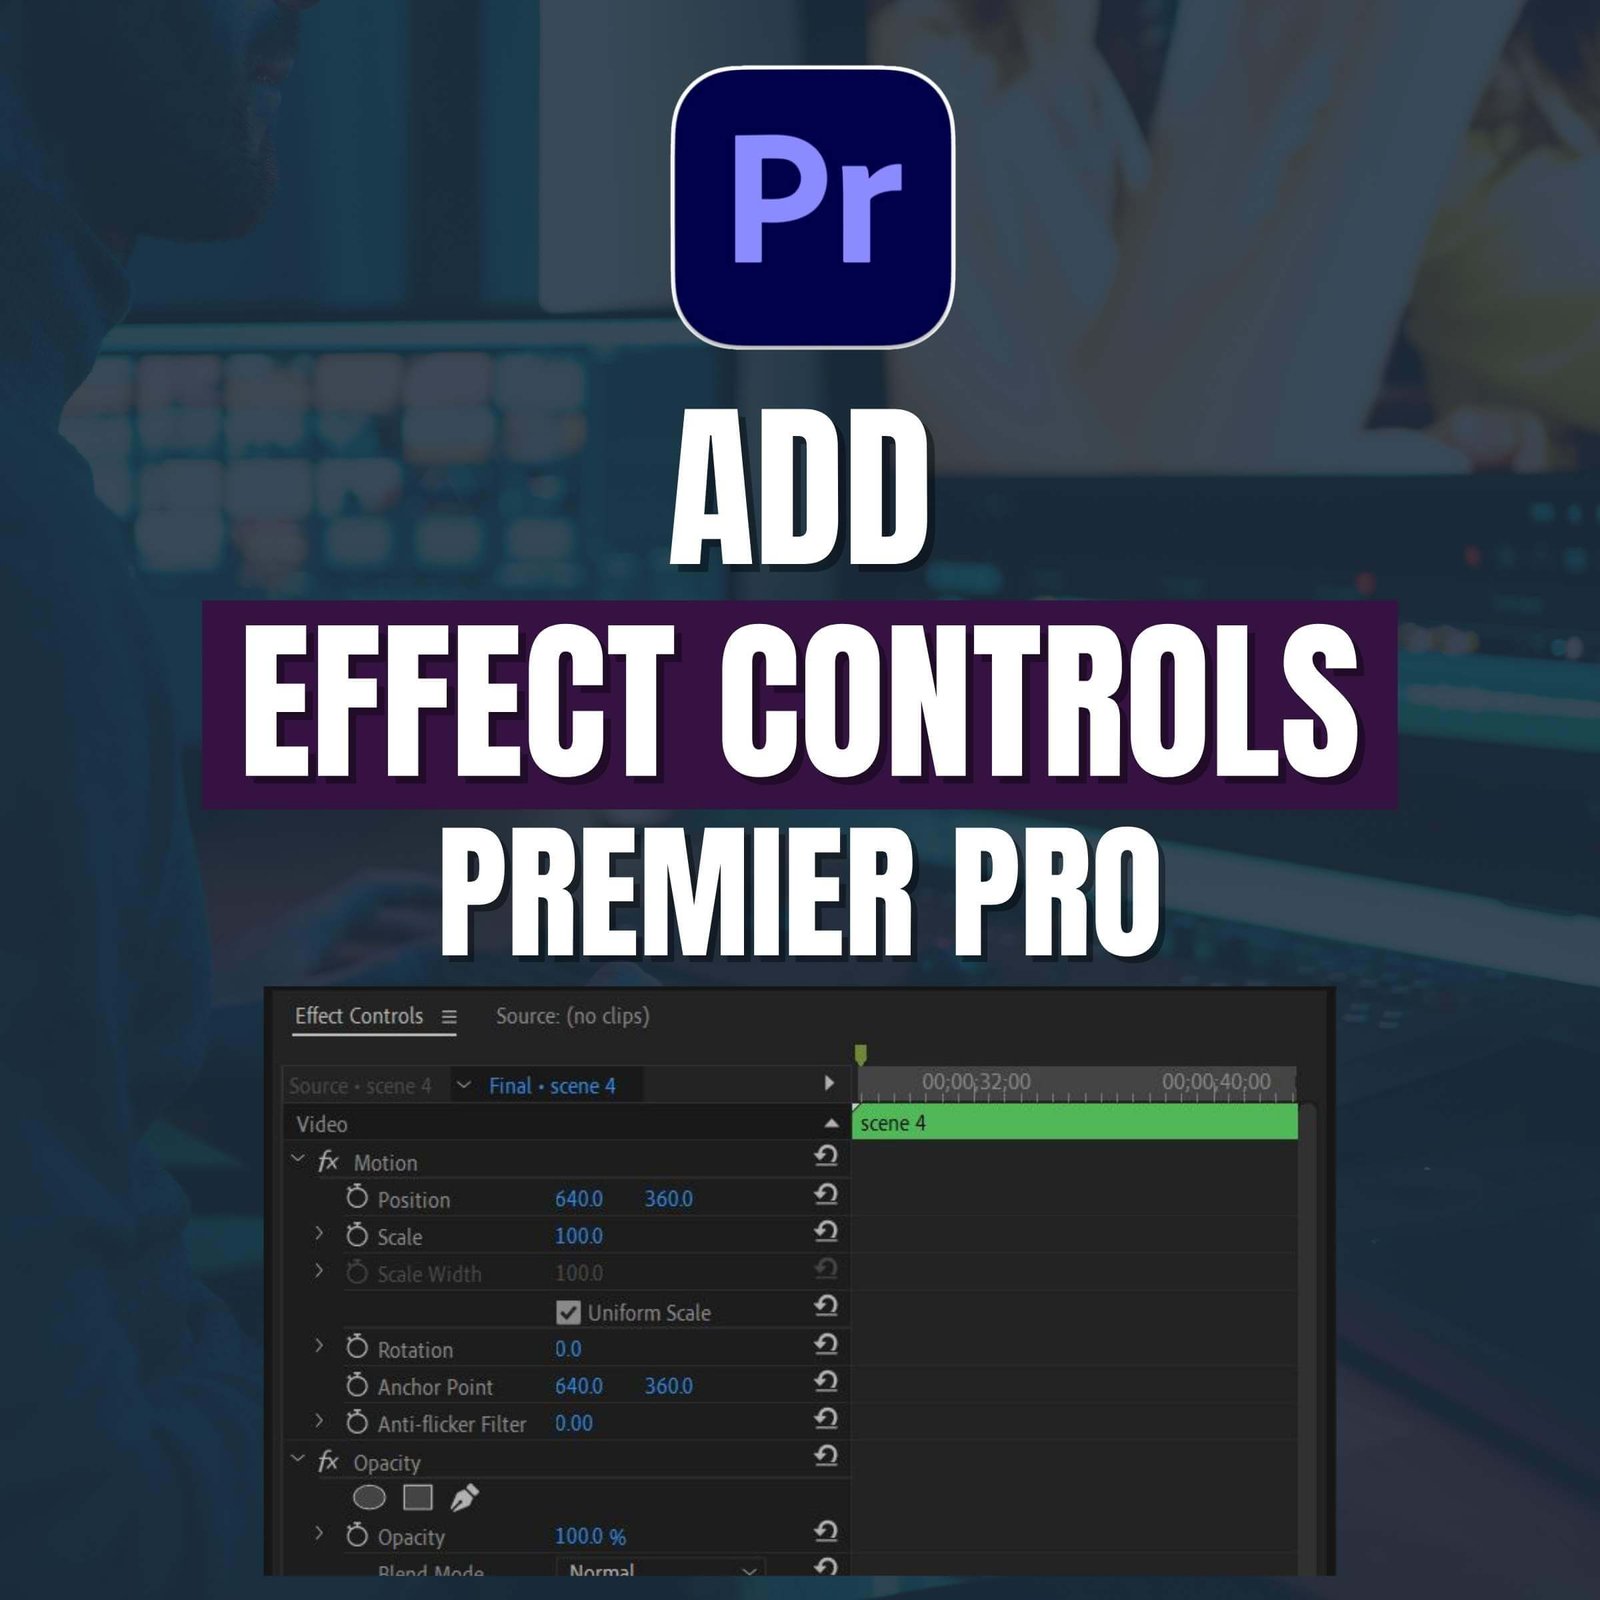
How to add Effect Controls in Premiere Pro
Adobe Premiere Pro is a powerful and flexible program for [...]